 1/8
1/8Flying Bird (Dove)
Original design by @嘎嘎毛线球
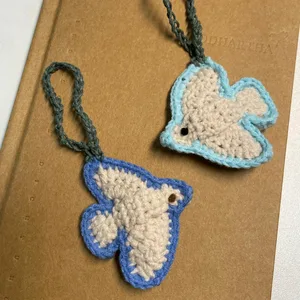
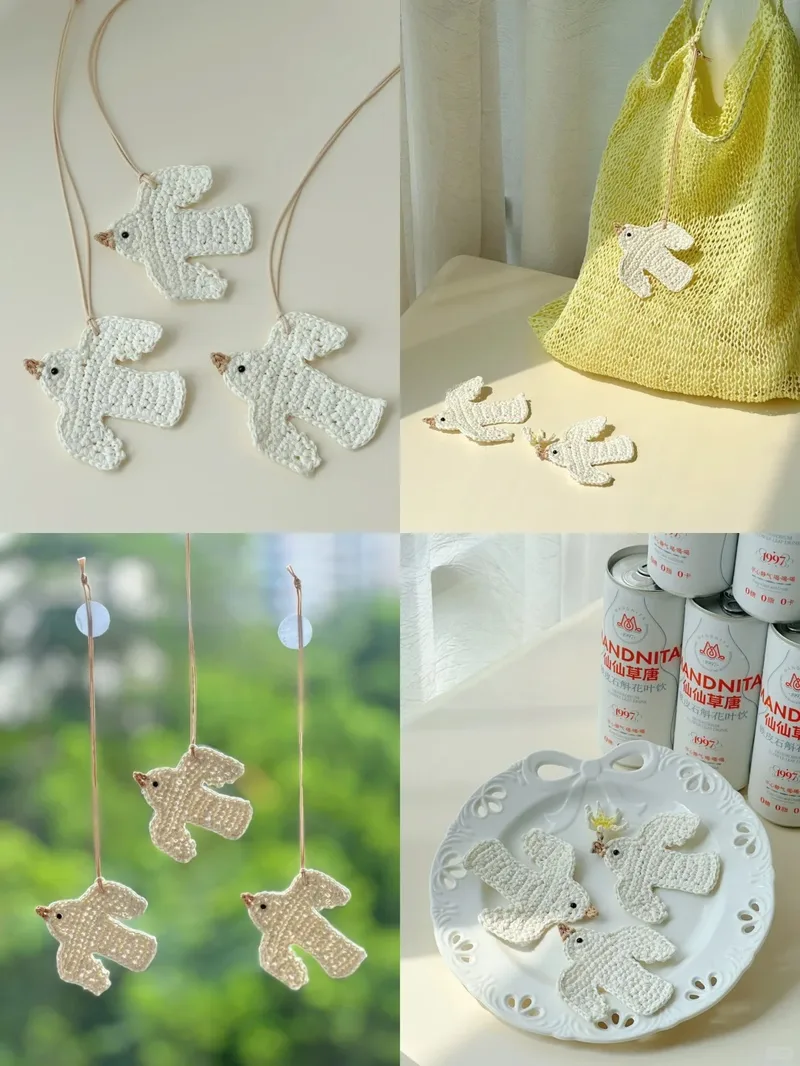
A flat crocheted dove / flying-bird ornament worked as a color-block appliqué: a light, airy hanging decoration.
- Difficulty
- Intermediate
Materials
As an Amazon Associate, Hooklore earns from qualifying purchases. Links open Amazon — a matching product or search results.
Stitches used: MR, ch, sc, hdc, dc, inc, dec, sl st
Flying Bird (Dove) — Chart & Steps

(ch = chain, sc = single crochet, hdc = half double, dc = double crochet, inc = sc increase, dec = sc decrease, sl st = slip stitch)

Start: ch 4 and leave a tail, then cut (this chain becomes the beak base, inserted later).
Steps 1-2: with a separate strand, make a magic ring and work the head.
Step 3: work the upper body and the left wing; when you reach Round 2, lay in the ch-4 segment (the beak base) and keep working until the left wing is finished, then cut.
Step 4: with a separate strand, work the right wing; cut when finished.
Step 5: with a separate strand, work the lower body.
Step 6: work one round of sc all the way around the whole body (weave the loose tails under the sc as you go).
Step 7: change color and, starting at the head, work the beak onto the ch-4 base.

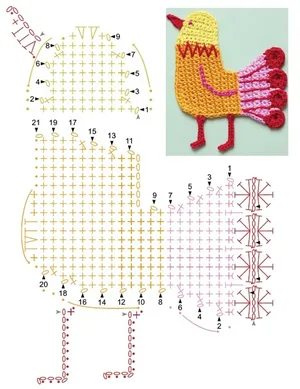
Worked flat as a color-coded stitch graph using sc, hdc and dc with sc increases/decreases to shape the head, wings and body.
Notes
A flat crocheted dove/flying-bird motif (hanging ornament). Built from several separately started sections (head, upper body + left wing, right wing, lower body) joined and edged with a final sc round, then a contrast beak. Design by @嘎嘎毛线球.
Frequently asked questions
How is the bird put together?
It is built from several separately started sections — head, upper body with left wing, right wing and lower body — then joined and finished with a single sc round all around.
How do I add the beak?
A short chain is laid in at the head while working, then the beak is crocheted onto it in a contrasting color at the end.