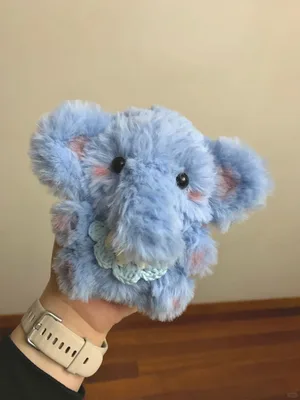
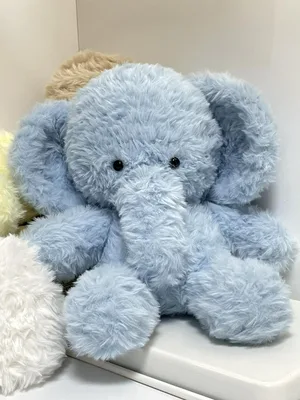
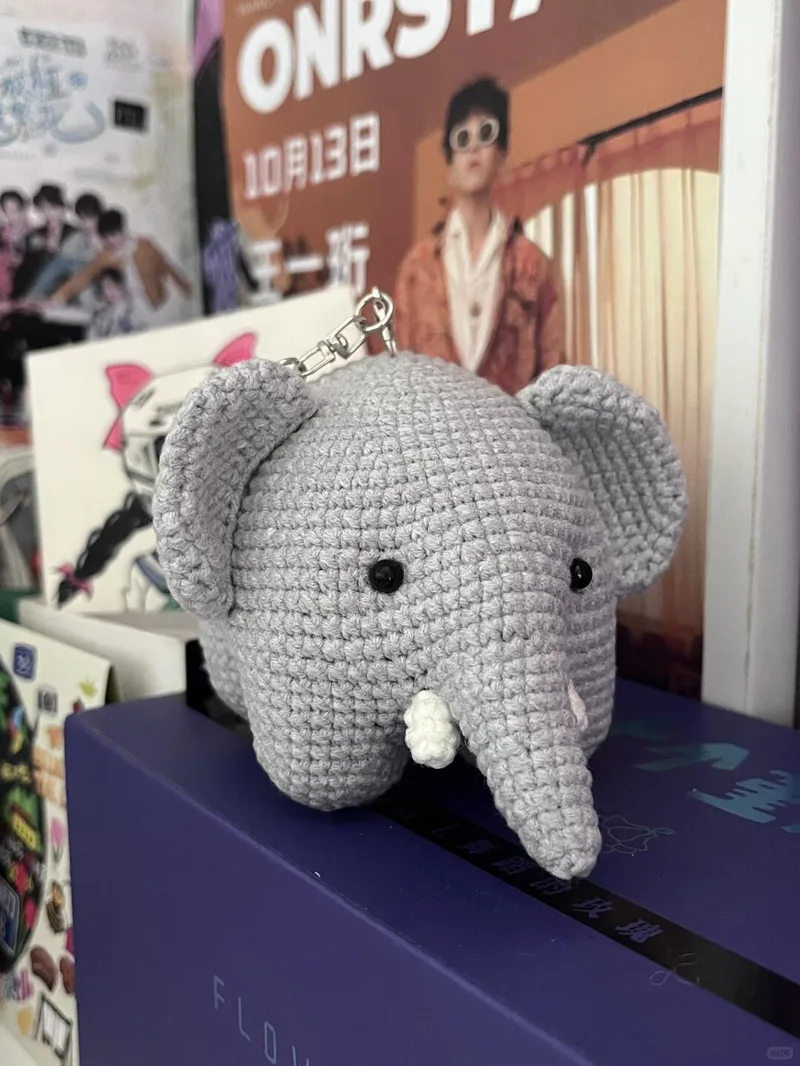
 1/5
1/5Large Elephant Amigurumi (10-page pattern)
Original design by @面包还是盼盼好(接🥚ing)
A large, huggable elephant amigurumi inspired by the Mao Buyi character style, built from an oval body with four picked-up legs, a sculpted trunk, and floppy ears. Its size and soft shaping make it a standout plushie or nursery decoration.
- Difficulty
- Advanced
Materials
- Worsted-weight yarn (main color)Amazon ↗
- Crochet hook suited to the yarnAmazon ↗
- Safety eyesAmazon ↗
- Polyester fiberfill stuffingAmazon ↗
- Yarn needle for assemblyAmazon ↗
As an Amazon Associate, Hooklore earns from qualifying purchases. Links open Amazon — a matching product or search results.
Stitches used: ch, sc, inc, dec, hdc, sl st, MR, BLO
Page 1 - Body:
Rnd 1: Ch 9, sc in 2nd ch from hook, 7 sc, 3 sc in last ch (turn corner: 2 sc on right, rotate chain, 1 sc on left), 6 sc, inc in last st [oval shape] (18)
Rnd 2: Inc, 6 sc, inc x3, 6 sc, inc x2 (24)
Rnd 3: 8 sc, inc, sc, inc, 11 sc (27)
Rnd 4: Inc, 9 sc, inc, 2 sc, inc, 6 sc, inc, sc, inc, sc (33)
Rnd 5: 2 sc, inc, 6 sc, inc, 3 sc, inc, 3 sc, inc, 11 sc, 2 sc, inc (39)
Rnd 6: Inc, 11 sc, inc, 4 sc, inc, 4 sc, inc, 8 sc, inc, 3 sc, inc, 3 sc (45)
Rnd 7: 15 sc, inc, 5 sc, inc, 5 sc, 17 sc (48)
Rnd 8: 2 sc, inc, 14 sc, inc, 6 sc, inc, 6 sc, inc, 8 sc, inc, 4 sc, inc, 2 sc (54)
Rnd 9: *Sc, inc* around (60)
Notes
Elephant amigurumi (Mao Buyi style). 10-page pattern. Rnd 1 tension should be slightly tight. Keep subsequent rounds slightly loose for smooth oval shape.
Page 2:
Rnd 10: 6 sc, inc, 8 sc, inc, 8 sc, inc, 18 sc, inc, 6 sc, inc (66)
Rnd 11: Sc in each st around (66)
Rnd 12: Inc, 17 sc, inc, 9 sc, inc, 9 sc, inc, 11 sc, inc, 7 sc, inc, 7 sc (72)
Rnd 13: Sc in each st around (72)
Rnd 14: 2 sc, inc, 18 sc, inc, 10 sc, inc, 10 sc, inc, 12 sc, inc, 8 sc, inc, 6 sc (78)
Rnd 15: Sc in each st around (78)
Rnd 16: 4 sc, inc, 19 sc, inc, 11 sc, inc, 11 sc, inc, 13 sc, inc, 9 sc, inc, 5 sc (84)
Rnd 17: Sc in each st around (84). Place eyes between Rnds 16-17.
Rnd 18: 6 sc, inc, 20 sc, inc, 12 sc, inc, 12 sc, inc, 14 sc, inc, 10 sc, inc, 4 sc (90)
Rnds 19-22: Sc in each st around (90)
Rnd 23: 39 sc, ch 6 (skip 12 sc), 39 sc (84)
Rnd 24: 37 sc, dec, 6 sc, dec, 37 sc (82)
Rnd 25: Sc in each st around (82) - mark last sc for leg chain connection
Notes
Elephant body continued. Eyes placed between Rnds 16-17. Rnd 23 creates trunk hole.
Page 3 - Trunk:
Rnd 26: Skip 37 sc. Rejoin yarn and work 8 sc (8)
Row 27: Ch 1, turn, sc across (8)
Row 28: Ch 1, turn, dec, 4 sc, dec (6)
Row 29: Ch 1, turn, dec, 2 sc, dec (4)
Row 30: Ch 1, turn, dec x2 (2). Mark last st - connects to leg chain.
Sl st, fasten off.

[Diagram shows: Hole for the trunk (count 15 sts), with Leg Chain A, B, C, D positions marked around the body oval]
Notes
Trunk shaping (worked flat in rows, decreasing). Includes diagram showing leg chain placement.
Page 6 - Leg A:
Start from last st of Rnd 25
Rnd 1: 21 sc (body), 6 sc (on Leg A chain) (27)
Rnd 2: 27 sc (27)
Rnd 3: 5 sc, dec, 12 sc, dec, 6 sc (25)
Rnd 4: 17 sc, dec, 6 sc (24)
Rnd 5: *2 sc, dec* x6 (18)
Rnd 6: *Sc, dec* x6 (12)
Rnd 7: Dec x6 (6)
Fasten off, close hole and weave in ends.

Leg B:
Count 15 sts from triangle edge, rejoin yarn.
Rnd 1: 15 sc (body), 6 sc (triangle edge), 6 sc (Leg B chain) (27)
Notes
Elephant legs A and B. Each leg starts by picking up stitches from body and chain spaces.
Page 7:
Rnd 2: 27 sc (27)
Rnd 3: Dec, 12 sc, dec, 11 sc (25)
Rnd 4: Dec, 23 sc (24)
Rnd 5: *2 sc, dec* x6 (18)
Rnd 6: *Sc, dec* x6 (12)
Rnd 7: Dec x6 (6)
Fasten off.

Leg C:
From last st of Rnd 30 (marked), rejoin yarn.
Rnd 1: 6 sc (along triangle), 15 sc (body), 6 sc (Leg C chain) (27)
Rnd 2: 27 sc (27)
Rnd 3: 5 sc, dec, 12 sc, dec, 6 sc (25)
Rnd 4: 17 sc, dec, 6 sc (24)
Rnd 5: *2 sc, dec* x6 (18)
Rnd 6: *Sc, dec* x6 (12)
Rnd 7: Dec x6 (6)
Notes
Legs B (continued) and C. Same decrease pattern for all legs.
Page 8 - Leg D:
Rnd 1: 21 sc (body), 6 sc (Leg D chain) (27)
Rnd 2: 27 sc (27)
Rnd 3: Dec, 12 sc, dec, 11 sc (25)
Rnd 4: Dec, 23 sc (24)
Rnd 5: *2 sc, dec* x6 (18)
Rnd 6: *Sc, dec* x6 (12)
Rnd 7: Dec x6 (6)
Fasten off.

Trunk:
Rejoin yarn in trunk hole. Start at middle of triangle (triangle = 6 sc).
Rnd 1: 3 sc (half of triangle), 12 sc (body), 3 sc (other half of triangle) (18)
Rnd 2: 18 sc (18)
Rnd 3: *Dec, 4 sc* x3 (15)
Rnds 4-5: Sc in each st around (15)
Rnd 6: *Dec, 3 sc* x3 (12)
Rnds 7-8: Sc in each st around (12)
Notes
Leg D and Trunk. Trunk is worked by picking up stitches around the hole left in Rnd 23.
Page 9:
Rnd 9: *Dec, 2 sc* x3 (9)
Rnd 10: Sc in each st around (9)
Rnd 11: *Dec, sc* x3 (6)
Fasten off, close hole, weave in ends.

Belly:
Rnd 1: 6 sc in MR (6)
Rnd 2: Inc in each st around (12)
Rnd 3: *Sc, inc* x6 (18)
Rnd 4: *Inc, 2 sc* x6 (24)
Stuff body and trunk firmly. Sew belly piece to the edges of the 4 leg chains. Belly should fit perfectly: 24 sts = 4 legs x 6 chain sts each.

Ears (make 2):
Rnd 1: Ch 7, sc in 2nd ch from hook, 4 sc, 3 sc in last ch (turn), 4 sc, inc [oval] (14)
Rnd 2: Inc, 4 sc, inc x3, 4 sc, inc x2 (20)
Rnd 3: Sc, inc, 5 sc, inc, sc, inc, sc, inc, 5 sc, inc, sc, inc (26)
Rnd 4: *Inc, 2 sc* x8 (32)
Notes
Trunk end, belly piece, and ears. Belly connects to all 4 leg openings.
Page 10:
Rnds 5-6: 2 hdc, 9 sc, 7 hdc, 9 sc, 5 hdc (32)
Rnd 7: *Dec, 8 sc, dec, 4 sc* x2 (28)
Sew ears to body.

Tail:
Rnd 1: 4 sc in MR (4)
Rnd 2: Sc in each st around (4)
Rnd 3: *Inc, sc* x2 (6)
Rnd 4: Sc in each st around (6)
Rnd 5: *Inc, 2 sc* x2 (8)
Rnds 6-7: Sc in each st around (8)
Fasten off, leave long tail for sewing to body.
Notes
Ears (continued) with hdc shaping for curved top, and tail. Sew all pieces to body.
Frequently asked questions
How are the four legs attached to the body?
The legs are not sewn on separately. Each leg starts by picking up stitches directly from the body and from the chain spaces (the leg chains A, B, C, D) marked around the oval, then is worked in the round and decreased closed. This gives a seamless join.
What creates the trunk opening?
On Rnd 23 of the body you work 39 sc, chain 6 while skipping 12 sc, then 39 sc. That skipped section plus the chain forms the hole; the trunk is later worked by rejoining yarn and picking up stitches around that opening.
Why does the pattern stress tension on the first round?
Rnd 1 should be worked slightly tight so the starting oval stays closed, while the following rounds are kept slightly loose. This keeps the body surface smooth and prevents the oval base from gaping or puckering.
How does the belly piece fit?
The belly is a flat 24-stitch oval that sews onto the edges of the four leg chains. It is sized so 24 stitches equal 4 legs times 6 chain stitches each, so it should fit exactly once the body and trunk are stuffed firmly.