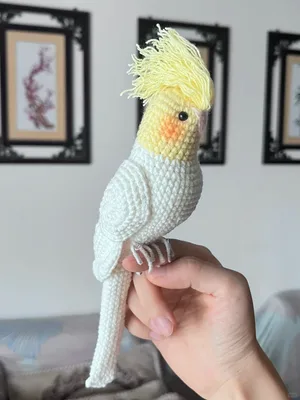
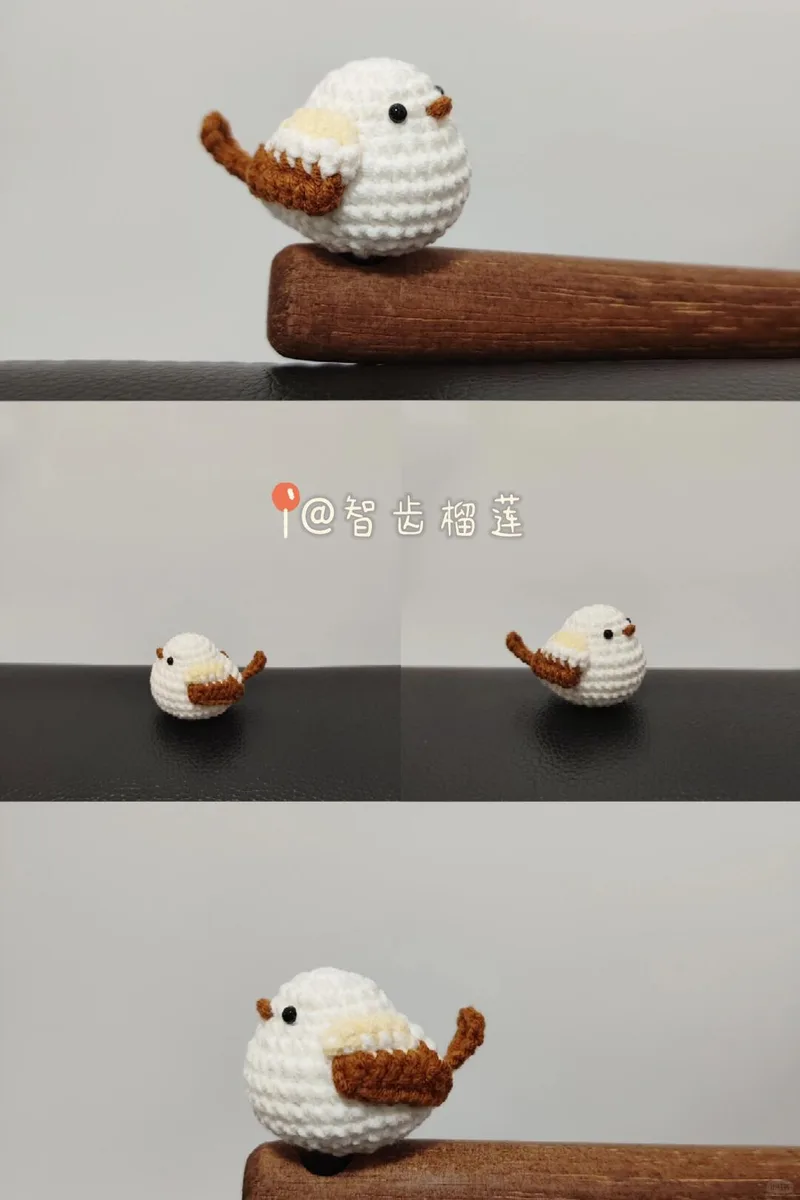
 1/5
1/5Sparrow
Original design by @智齿榴莲
A small amigurumi sparrow (tit) with shaped body, attached beak, tail, and two flat color-blocked wings. This little bird makes a sweet ornament, shelf decoration, or pocket-sized handmade gift for bird lovers.
- Difficulty
- Intermediate
- Time
- 2-3 hours
Materials
- Main color yarn for the bodyAmazon ↗
- Contrasting color yarn for the beakAmazon ↗
- Yarn for two-tone wingsAmazon ↗
- Fiberfill stuffingAmazon ↗
As an Amazon Associate, Hooklore earns from qualifying purchases. Links open Amazon — a matching product or search results.
Stitches used: ch, sc, inc, dec, hdc, dc, sl st
Sparrow (小山雀) — Complete Pattern
Key: X=sc, V=sc inc, A=sc dec, T=hdc, F=dc, FA=dc dec, TA=hdc dec, CH=chain

BODY (in the round):
Rnd 1: 7 sc in MR (7)
Rnd 2: sc inc in each st (14)
Rnd 3: *sc inc, 3 sc* ×3, sc inc, sc (18)
Rnd 4–5: sc in each st (18)
Rnd 6: 2 sc inc, 4×(sc, 3 sc inc) — verify stitch count
Rnd 7: sc inc, 30 sc, sc inc — verify count
Rnd 8: sc inc, 32 sc, sc inc — verify count
Rnd 9: sc inc, 34 sc, sc inc — verify count
Rnd 10: ch 2, dc dec, 26 sc, sc dec, hdc dec, dc dec

BEAK: Using contrasting color, ch 2, fasten off. Insert at Rnd 4 between sts 9 and 10.

TAIL: Ch 7, starting from 3rd ch from hook: hdc, sc, sl st ×3. Fasten off. Sew into first and last st of Rnd 9.

CLOSING:
Rnd 11: *sc, sc dec, sc* ×8 — stuff before this round (attach beak & tail first)
Rnd 12: *sc, sc dec* ×8
Rnd 13: hdc dec ×8
Fasten off, weave in ends.

WINGS (make 2, flat):
Leave long starting tail for sewing.
Row 1: Ch 5, sc in 2nd ch from hook, 3 sc, sc inc — change color
Row 2: Ch 1, turn, 4 sc, sc inc — change color
Row 3: Ch 1, turn, 6 sc
Row 4: Ch 1, turn, skip 1 st, 4 sc, (hdc, dc inc) in same st, ch 1 — fasten off leaving long tail
Attach left wing: insert at 5 sts left of beak, one row below. Right wing symmetrically.
Notes
Rnd 6–9 stitch counts need verification — formula likely follows amigurumi standard increases. The body shaping creates the round bird form. Stuff firmly before closing.
Frequently asked questions
When should I attach the beak and tail?
Attach the beak (inserted at Rnd 4 between stitches 9 and 10) and the tail (sewn into the first and last stitch of Rnd 9) before the closing rounds, and stuff the body firmly just before Rnd 11.
How are the wings positioned?
Each wing is made flat with a long starting tail for sewing; the left wing is inserted 5 stitches left of the beak and one row below, and the right wing is placed symmetrically on the other side.
Some round stitch counts say 'verify count' — what should I do?
Rounds 6-9 follow standard amigurumi increase spacing, so work the increases evenly around to reach the body width and check your totals against the chart, since the written counts are flagged as needing verification.